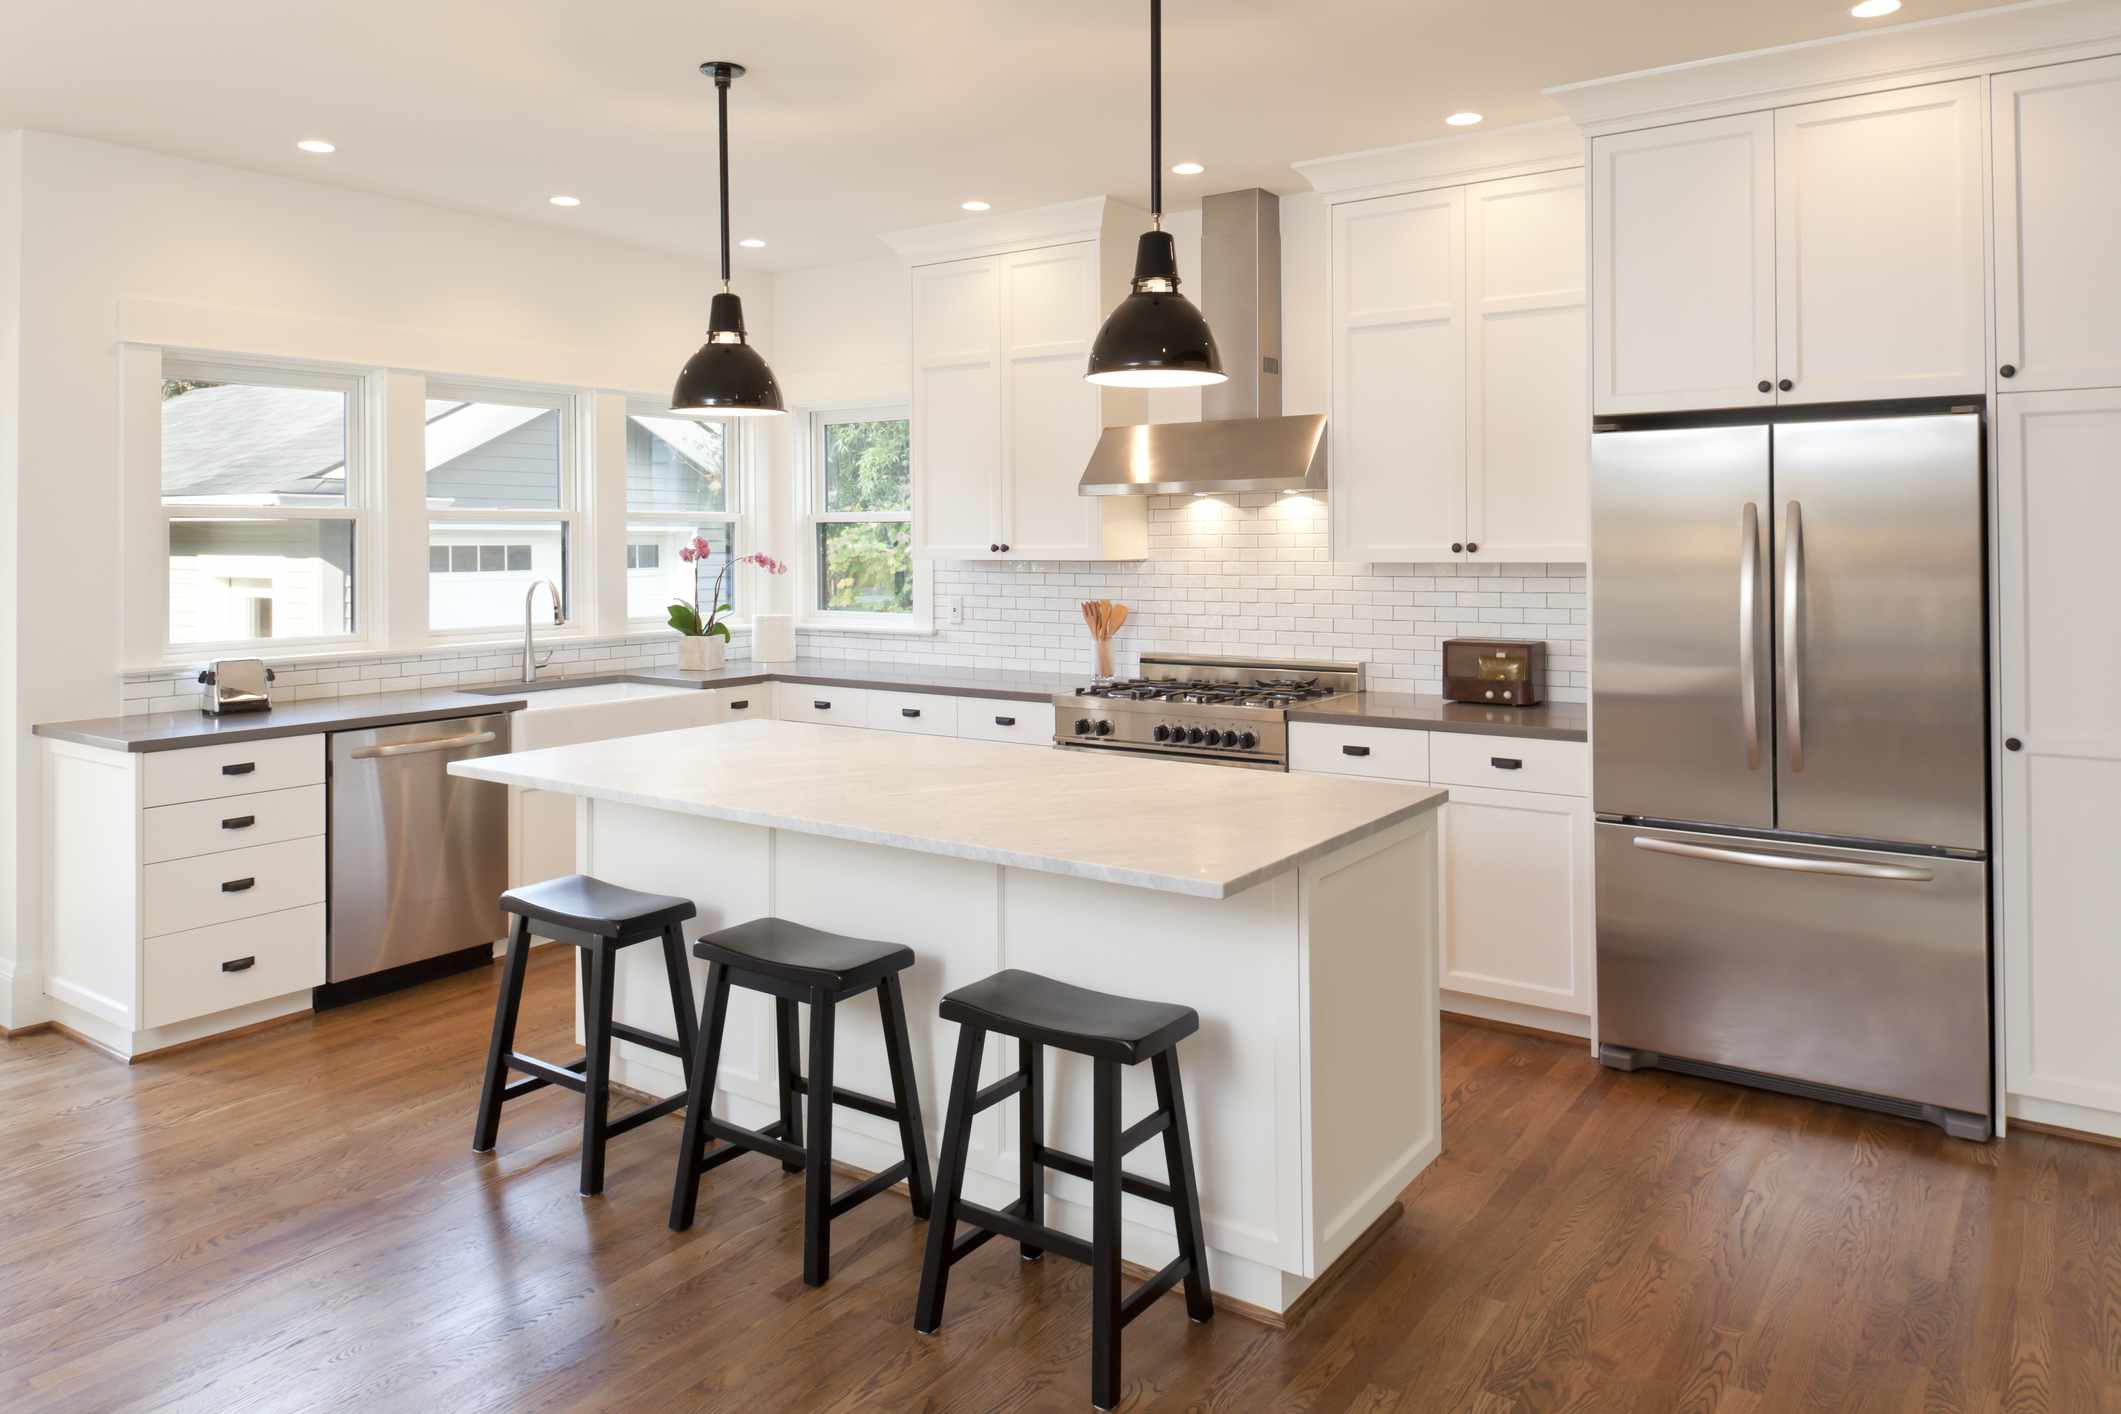
Kitchen Island Installation: A Smart Upgrade for Modern Homes
The kitchen is the heart of every home, a place where meals are prepared, conversations flow, and memories are made. As the centerpiece of many kitchen designs, the kitchen island offers both functionality and style. Whether you’re renovating your existing space or designing a brand-new kitchen, a kitchen island installation can dramatically improve both the usability and aesthetics of your home.
In this article, we’ll explore the benefits of installing a kitchen island, what to consider before getting started, the installation process, and tips for maximizing your investment.
Benefits of a Kitchen Island
A well-planned kitchen island does more than just fill space — it enhances how you use your kitchen every day. Here are some top benefits:
1. Additional Workspace
One of the most practical benefits is extra counter space. Whether you’re meal prepping, baking, or laying out snacks for guests, the island offers a convenient and accessible surface.
2. Increased Storage
Many kitchen islands include cabinets, drawers, or shelving underneath, giving you much-needed storage space for cookware, utensils, or pantry items.
3. Seating and Dining Area
With the addition of bar stools, an island can serve as a casual dining space, breakfast bar, or a spot where kids can do homework while dinner is being prepared.
4. Aesthetic Appeal
A stylish island can become the focal point of your kitchen. With countless options for materials, finishes, and designs, you can customize the island to match your kitchen décor.
5. Improved Kitchen Flow
Strategically placed, a kitchen island can improve the overall layout and workflow of your kitchen, especially in open-concept homes.
Planning Your Kitchen Island Installation
Installing a kitchen island requires careful planning to ensure it fits your space and meets your needs. Here’s what to consider before getting started:
1. Space Requirements
A general rule of thumb is to have at least 36 to 48 inches of clearance around all sides of the island to allow for easy movement and appliance access. Measure your space carefully before selecting an island design.
2. Island Size and Shape
Islands come in various sizes and shapes. Choose a design that complements your kitchen layout. For smaller kitchens, a narrow or rolling island might be ideal. In larger spaces, you can opt for a bigger island with multiple functions.
3. Utility Connections
If you want your island to include a sink, dishwasher, or stovetop, you’ll need to plan for plumbing, electrical, and possibly gas connections. These utilities must be installed before the island is secured in place.
4. Functionality
Decide how you want to use your island. Will it be for cooking, storage, seating, or all of the above? The purpose will influence the layout, materials, and features you choose.
The Installation Process
Once the planning phase is complete, here’s what you can expect during the kitchen island installation process:
1. Design Finalization
After reviewing your kitchen layout and goals, your contractor or designer will help you finalize the island’s design, dimensions, and features.
2. Preparation and Utility Setup
If utilities are required, licensed professionals will prepare the necessary plumbing and electrical connections before the island is installed.
3. Construction or Assembly
Depending on the design, the island may be custom-built on-site or delivered as a pre-fabricated unit. The base is installed first, followed by the countertop and any hardware or fixtures.
4. Finishing Touches
Once installed, the island is sealed, painted, or stained if needed. Utility fixtures like faucets or outlets are connected, and your island is ready for use.
Customization Ideas
To get the most out of your kitchen island, consider these popular custom features:
- Built-in wine racks or bookshelves
- Under-counter lighting for ambiance
- Pull-out trash and recycling bins
- Integrated appliances like a mini fridge or microwave
- Waterfall countertops for a modern look
Your island can be as simple or as elaborate as you like—tailor it to reflect your lifestyle and taste.
Maintenance and Care
Once installed, your kitchen island requires basic maintenance to keep it looking great and functioning well:
- Wipe down surfaces daily to prevent stains or residue buildup.
- Use cutting boards and trivets to protect the countertop.
- Periodically inspect plumbing or electrical components, especially if your island includes sinks or outlets.
- Refinish wood or stone surfaces as needed to maintain their appearance.
Final Thoughts
Installing a kitchen island is a smart investment that adds value, beauty, and practicality to your home. Whether you’re expanding your work surface, adding storage, or creating a family gathering spot, a well-designed island enhances both your kitchen’s form and function.
With careful planning, professional installation, and thoughtful customization, your kitchen island will become one of the most loved and used features in your home. Ready to get started? Consult with a kitchen design professional or contractor in your area to bring your island vision to life.


